Lint, linter, linting? What is it and why you should use it? I'll try to show you how Atom linter packages could save you a lot of development time.
What is linter?
Linter is a program which analyses your code during coding process.
Imagine yourself working on a new JavaScript widget. You write a hundreds of lines of code, but in a hurry, you forget to add a couple of semicolons here and there. When you open the widget in a browser to test it, it's not working. Open developer tools, open console tab, inspect errors, go back to Atom, fix the errors, go back to browser again and see if it runs now. Very annoying and time consuming process.
That's where linter could help you save precious time.
How it works?
linter works while you're typing and checks if there are any syntax errors. Let's look at example from previous section. If you forget to put semicolon at the end of a line, linter will immediately show you the error. It will save you a lot of time. Not only that, it will force you to write code more carefully.
How to install it?
You could use linter inside Atom. Go ahead and install it from Atom package manager. After that, open linter package settings. There are plenty of options. I encourage you to take your time to understand each one them.
The most important options are:
- Lint As You Type - turn on
- Highlight Error Lines in Gutter - turn on
- Show Inline Error Tooltips - turn on
- Display Linter Info in the Status Bar - turn on
- Display Linter Status Info in Status Bar - turn on
This settings should turn on linter errors in Atom, so you could fix the problems more easily.
You can see full configuration of my linter package here:
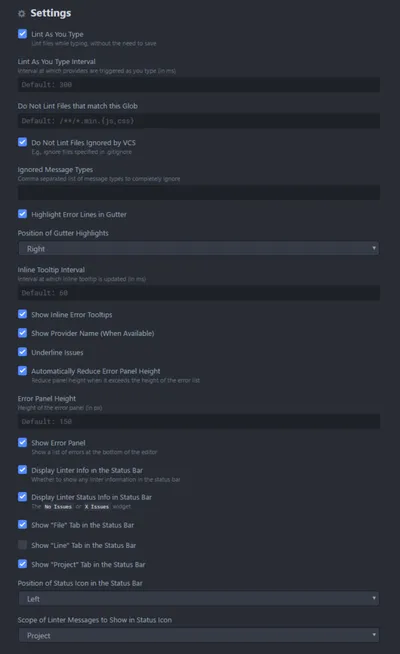
Basic linter is installed and configured, now we need actual linter plugins for specific programming languages. There are many plugins available, full list is available here. Because I'm a frontend developer, I'll show you how to install linters for CSS and JavaScript.
JavaScript linter
One of the most popular JavaScript linters for Atom is linter-jshint. It is an interface for JSHint, a tool that helps to detect errors and potential problems in your JavaScript code. Installation could be done via Atom package manager. There are few configuration options. The most important is to provide of executable jshint node script. Here are my settings:
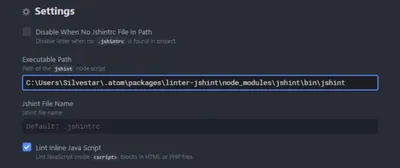
CSS linter
linter-stylelint is an interface for stylelint, CSS linter that helps you enforce consistent conventions and avoid errors in your stylesheets. It is available on Atom package manager and it has only 3 configuration options. Here you can see my** linter-stylelint** configuration:
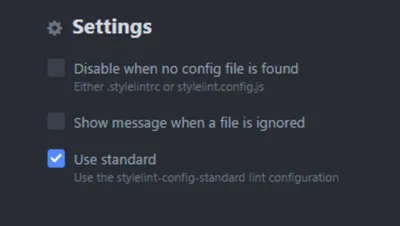
How to use it?
To see linter-jshint in action, open any JavaScript file and see if any errors exists. You could see errors in different places, depending on your main linter package configuration.
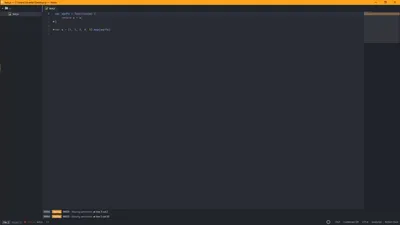
You could see CSS lint errors by opening and CSS file.
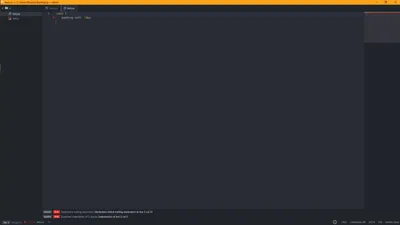
In the examples above you could see that errors are displayed on 4 different places:
- in a status bar,
- in a gutter,
- as a status info and
- in a minimap.
This depends on your main linter settings, but you should see at least on of them.
To see errors in a minimap, you should install minimap-linter package. You could learn more about minimap packages here.
You could use more advanced configuration options for each linters which are out of scope for this article. I encourage you to read full documentation for both stylelint and jshint, as they could be really useful for you.
Final thought
Linters are very useful and simple solution for basic syntax checking. Linters will not only save you time, but will also make you write better code.
Are you using linters? Which one are your favorite?